Mega Test
Link to your collections, sales and even external links
Add up to five columns
Link to your collections, sales and even external links
Add up to five columns
Belt Tour
September 08, 2023 5 min read
Behind the Scenes - Belt Tour
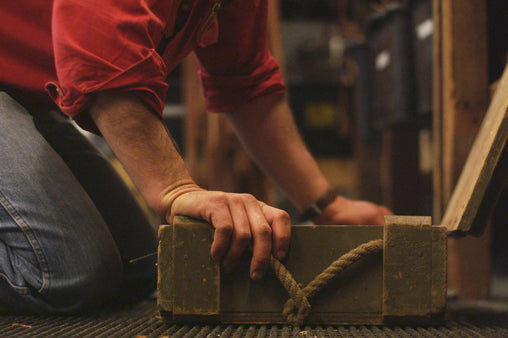
Angus first started making Belts when he was working at Rockhampton Downs in the Northern Territory. He had an old green army box which carried the sum total of his tools. At night the tool box would double as a work bench, as he knelt on the floor of the quarters, tapping away at belts which he would later sell to other ringers from the back of his ute.
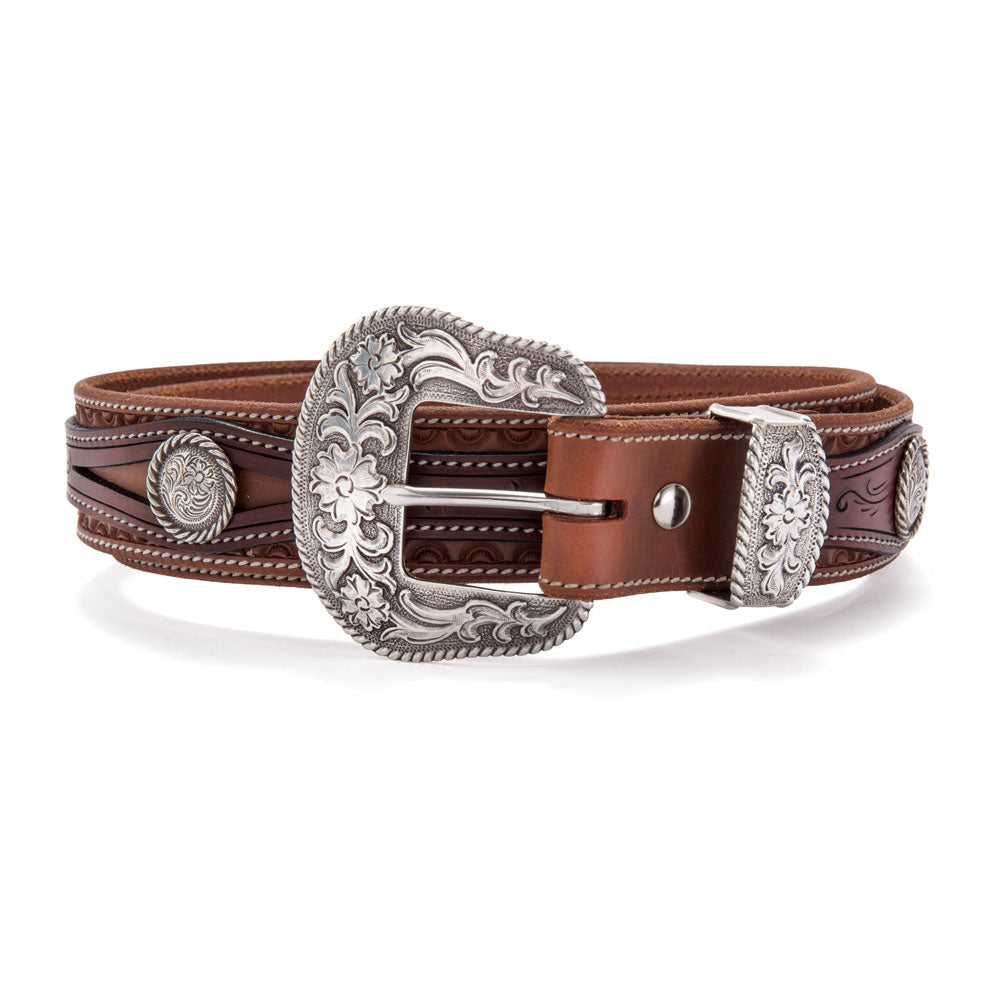
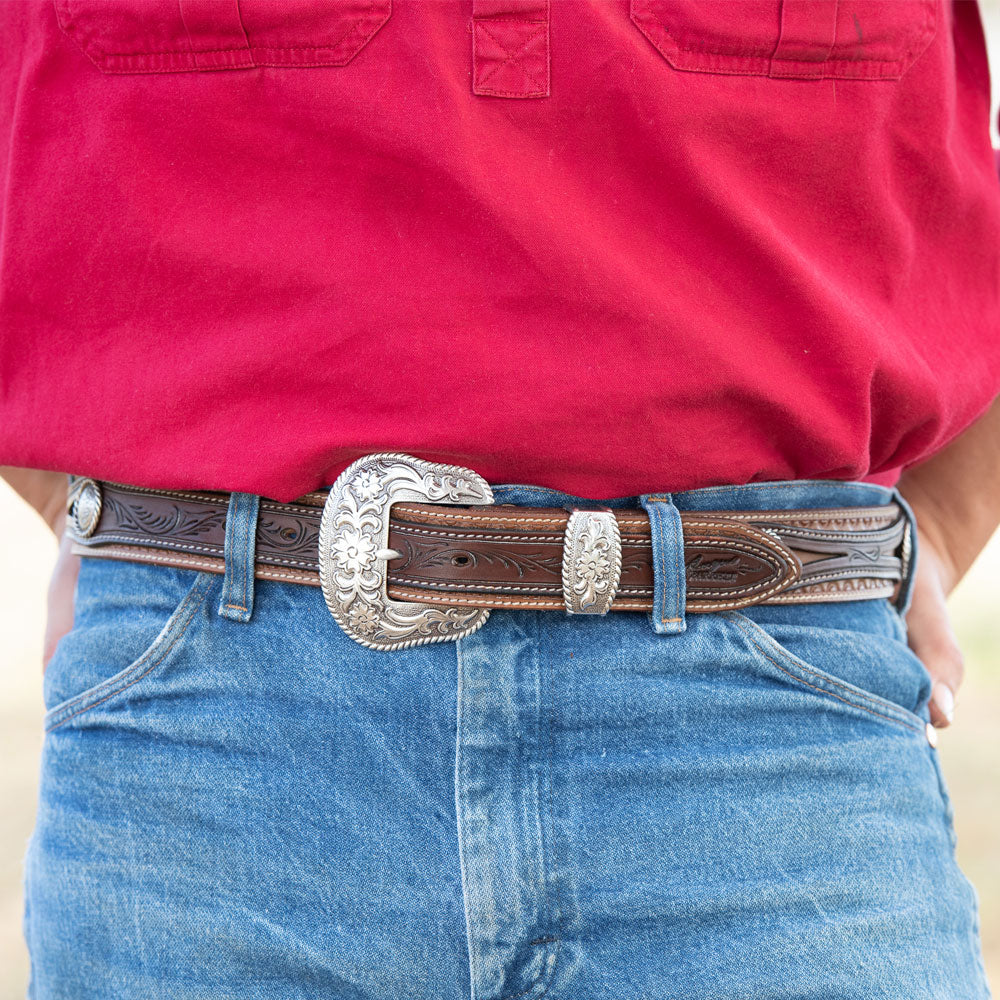
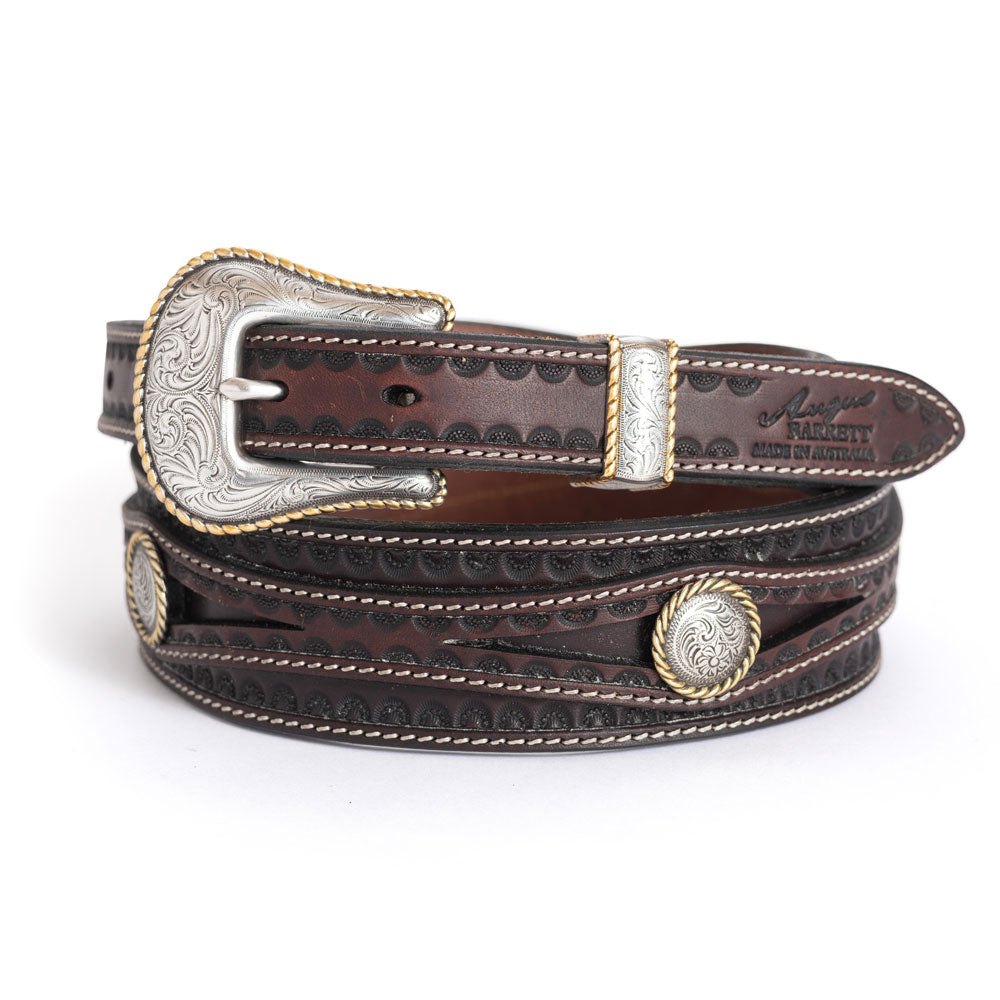
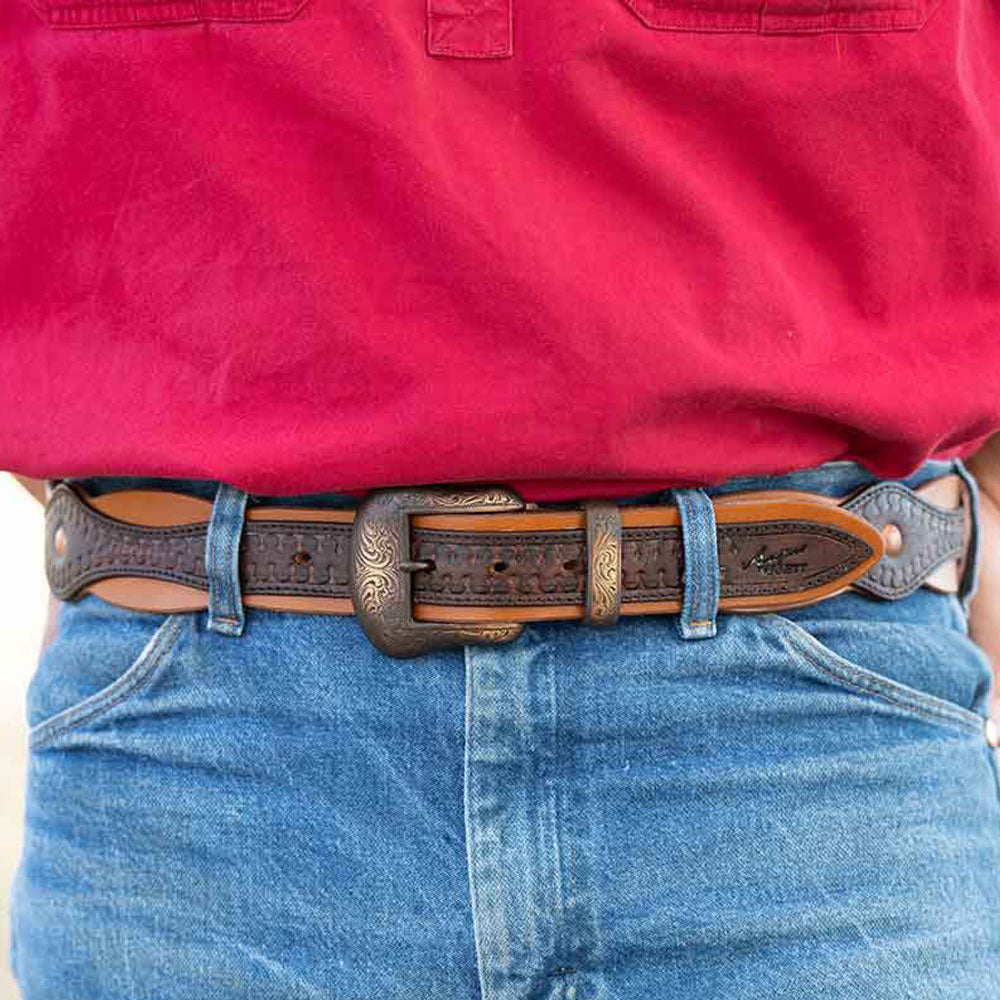
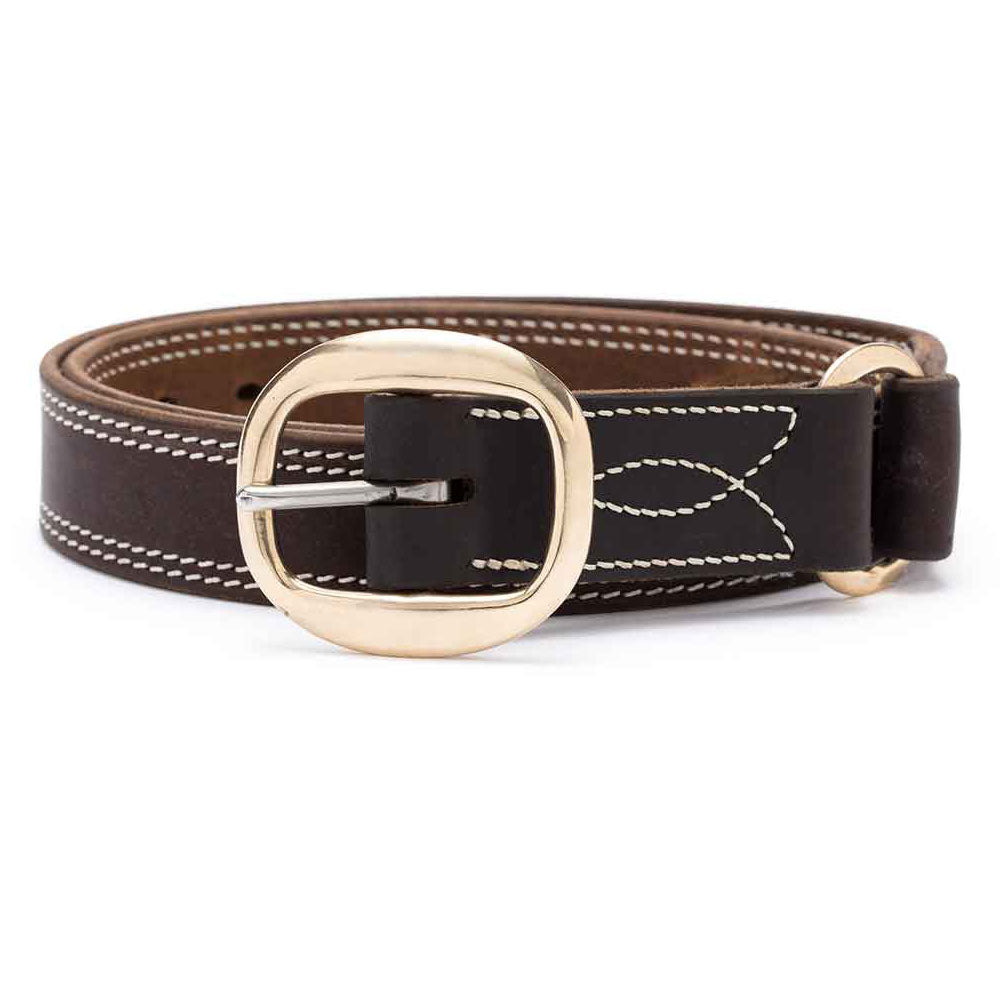
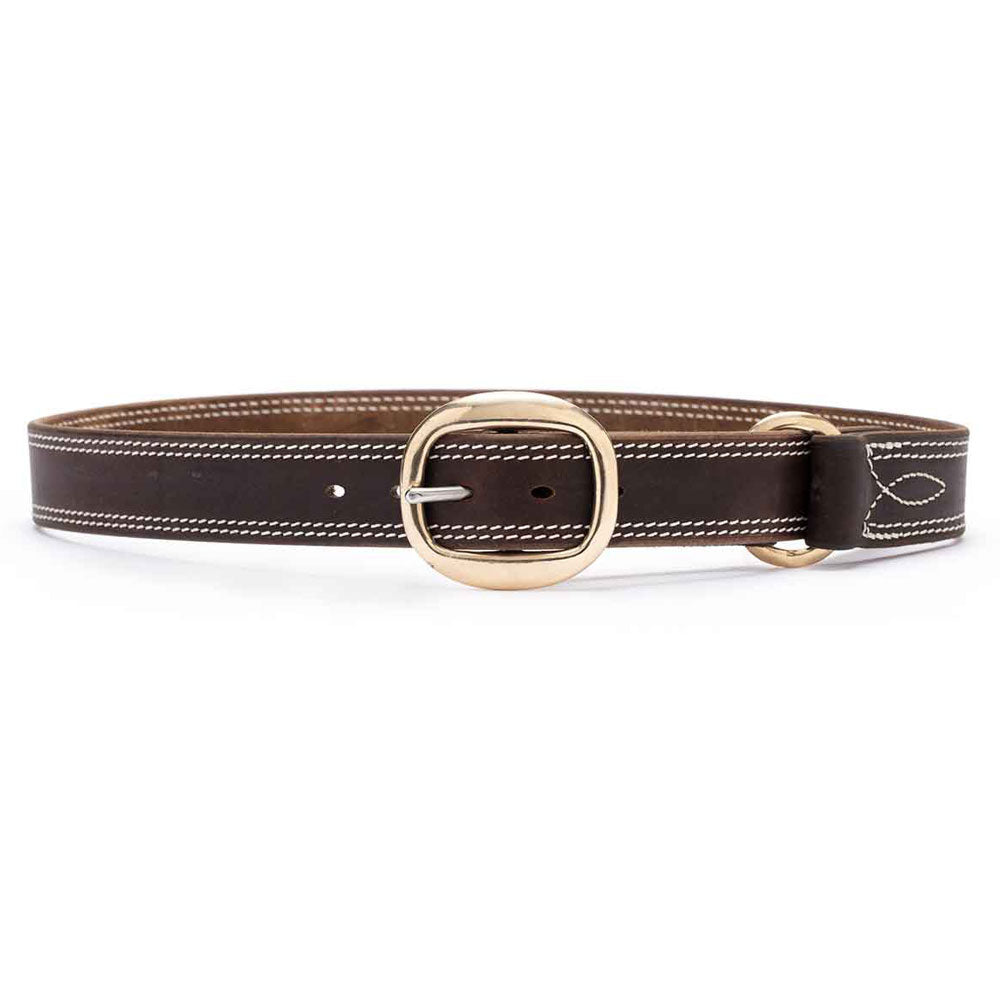
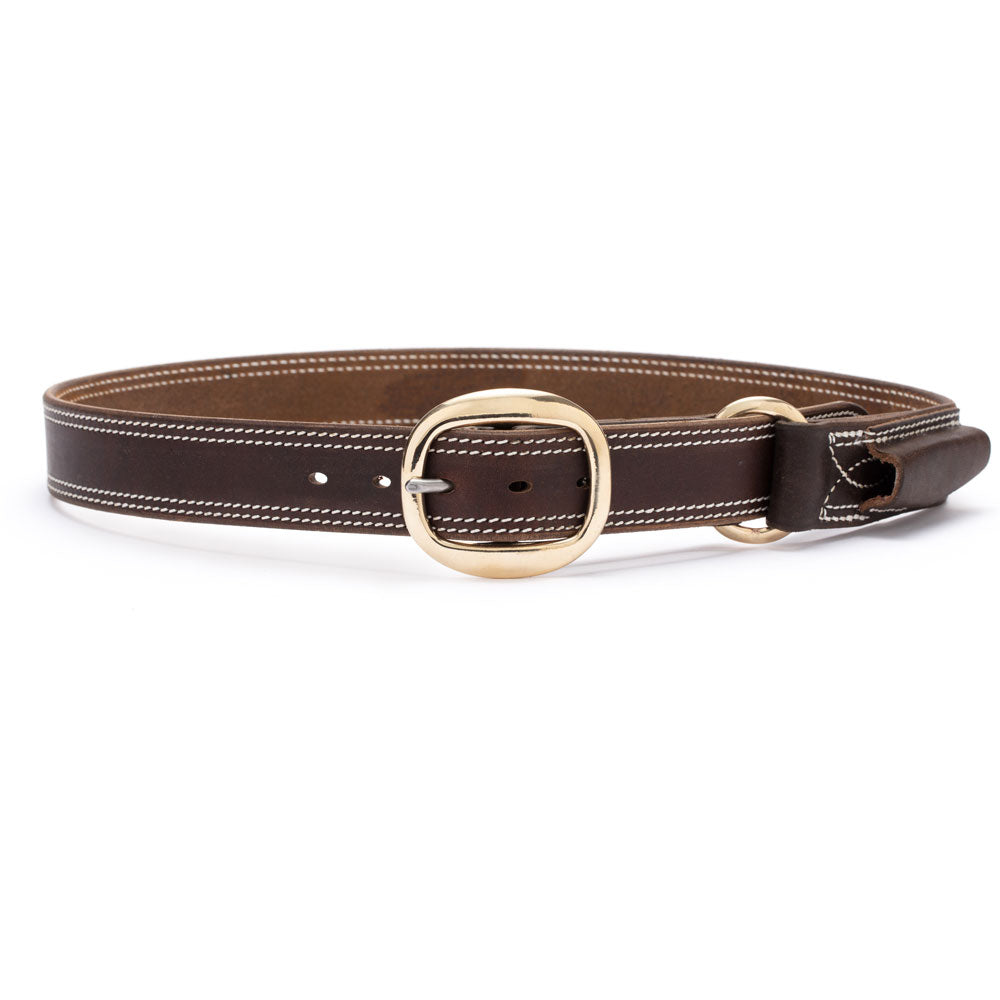
Today, our belts are one of our most popular collections and we thought you might enjoy a little tour of our workshop, to see what's involved in the process of making one of our Australian Made Belts.
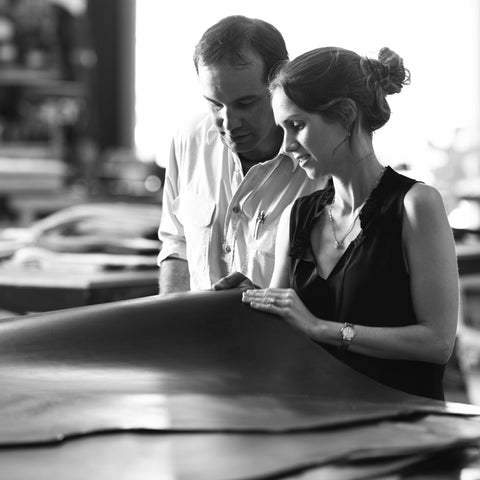
The leather selection is paramount - The starting point for any of our products is the leather selection. We pride ourselves on choosing leather which is individually suited to the product that it is going to be used to create. Leather for Hobbles will be different to leather for Bridles for instance, and similarly, leather for a Dress Belt will be different to leather for a Work Belt.
We think about the end use, what environment the product will have to withstand and how the wearer will like it to feel. Our belts are made from the best leather that we can source, from England, the USA and Europe.
_____________________________________________________________

Cutting - one of the things that we pride ourselves on is precision. We have invested in digital technology which helps to ensure that every cut is precise and made to an exacting design. Angus designs all our belts using Computer Aided Drawing software, and it's from this design that we cut out our belts. The technology that we have here also allows us to constantly update and improve our designs, without being restricted by traditional patterns or clicking knives.
_____________________________________________________________

Splitting - after cutting out the initial belt shape from the hide, every belt is then split to an individual thickness, depending on what the belt will be used for and also depending on the size of the belt.
We generally make work belts, like our Hobble and Ringers Belts, heavier than our Dress Belts, for example. And we split our smaller belts to a lighter weight than our longer, larger belts.
_____________________________________________________________
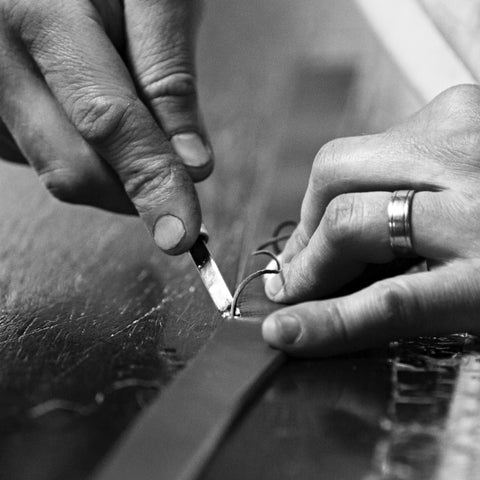
Edging - The better the craftsman, the better the edge. Edging is a critical step that goes towards the finished feel of a belt. We edge every belt using a sharp hand tool that cuts away the raw edge to ensure that it looks smooth and refined, and so that it feels soft in your hand and around your waist.
There is a real skill in selecting the right edging tool, sharpening the tool tip, and holding the tool at the right angle and slant to ensure the perfect edge.
_____________________________________________________________
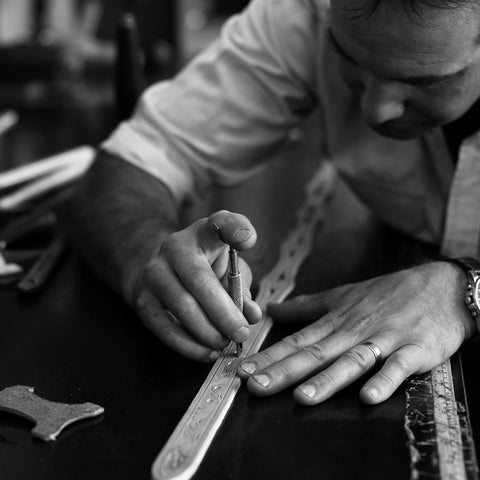
Carving and stamping - one of the things Angus enjoys most in the workshop is adding finishing touches to our belts, whether it be a beading along the edge, a special stamp, or hand-carving.
It's these little things that take the belt to the next level, a place where the belt becomes completely unique. Angus does all our carving with a swivel tool and he does it off-the-cuff, without any patterns, so that no two carved belts are ever the same.
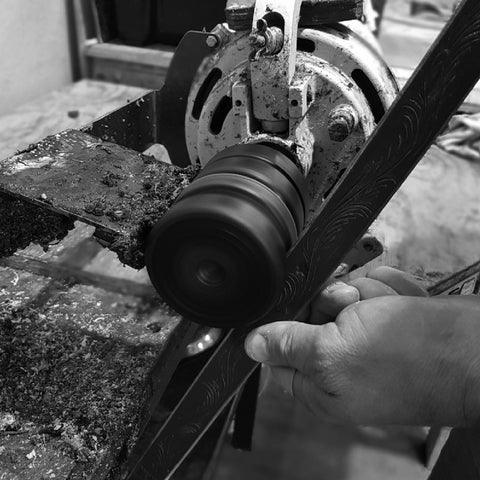
Slicking - we are very proud of the fact that all our belts are hand slicked. Slicking is essentially the process of buffing an edge with 'slick', to give that edge protection and a soft, smooth feel in your hand. It's one of the reasons our products feel so good when you first pick them up.
The 'slick' is a secret recipe, created and refined by Angus out of all natural products, that are heated and blended together to bond with the leather.
_____________________________________________________________
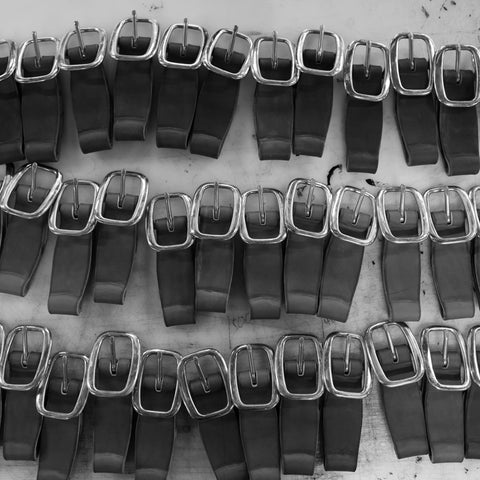
Skiving, wetting and moulding - these are three things that we do in preparation for the buckle fitting. Each buckle on all of our products is individually fitted to the leather.
First, we bell skive the tail of the belt, so that when it is turned back and sewn down to the buckle there is no interruption to the smooth finish of the belt. We then bench skive a tiny piece from behind the buckle to a desired thickness, so that the leather can mould perfectly to the buckle radius, without any bulkiness.
Now the fun part, we moisten the leather, slide the buckle on and using different hammers and rubbing sticks, we individually mould the belt to suit each buckle. Carrying out this process means that your belt is ready to wear, with the leather comfortably settled and bonded with the buckle.
_____________________________________________________________
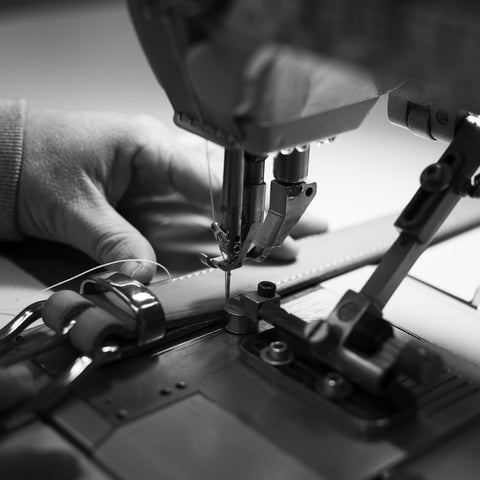
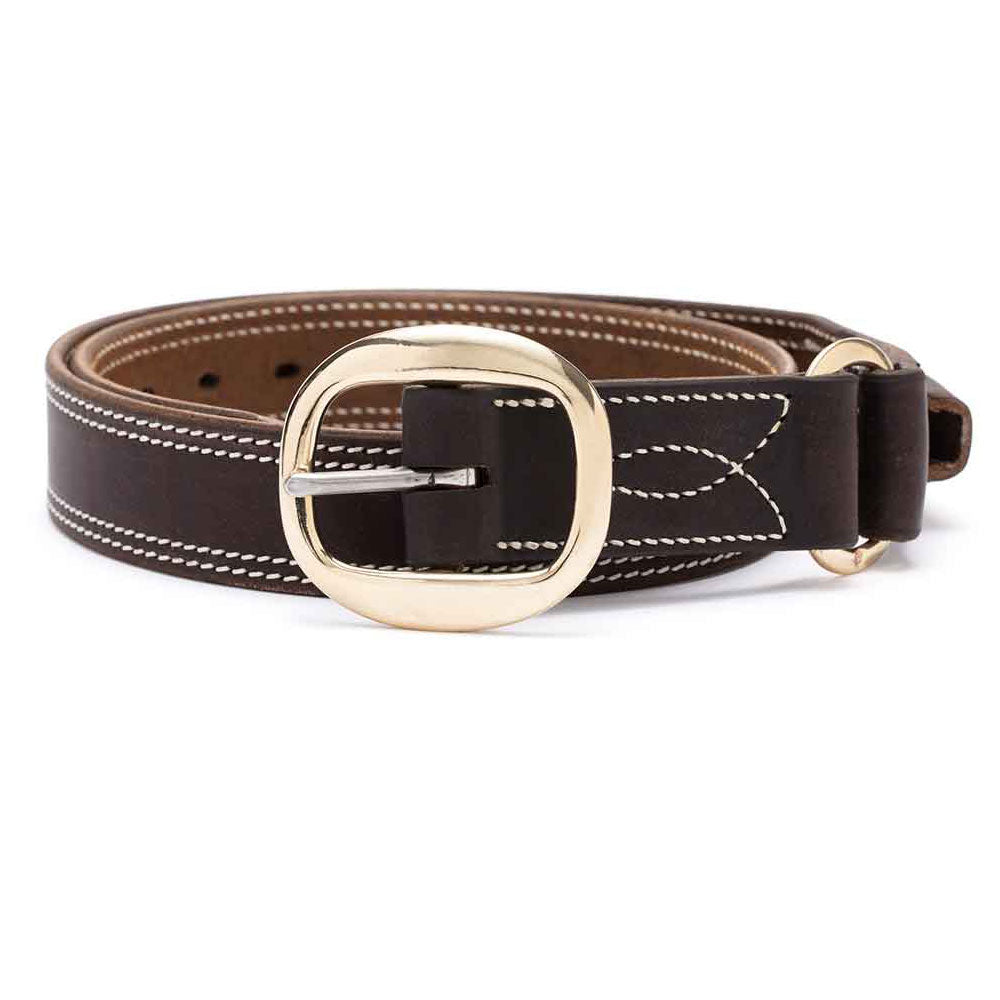
Stitching - one of the final steps is to sew the buckle to the belt. In the case of a lot of our belts we also fully stitch the perimeter and in some cases add a decorative stitch also.
The stitching adds strength and structure to the belt. We use a variety of different threads and needle sizes, depending on the style of the belt. Each belt has a hand-stitch finish (where we start and stop a stitch run). For our buckles, we use either solid brass or stainless steel.
_____________________________________________________________
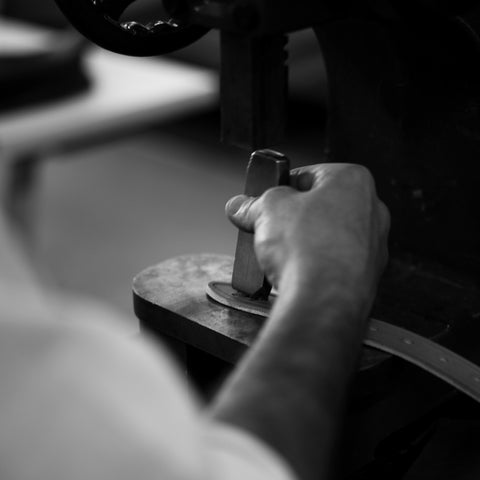
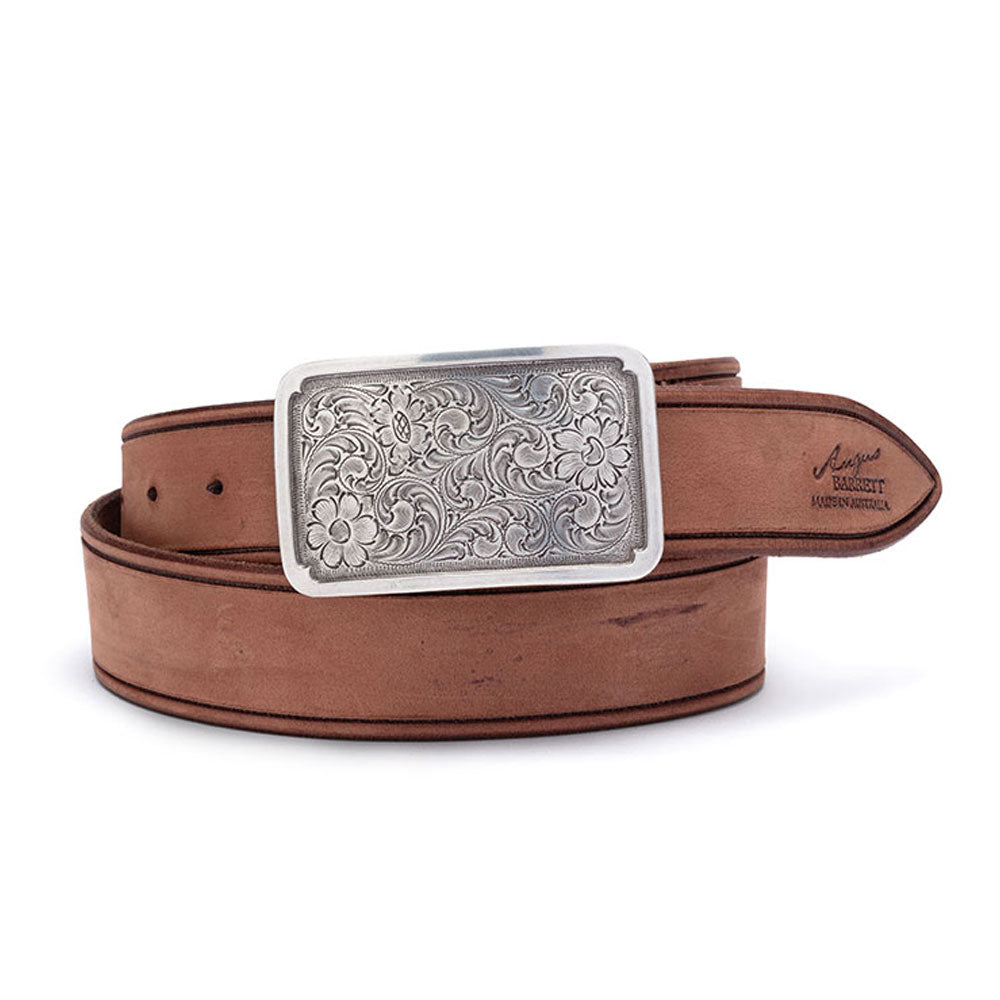
Logo - every belt is stamped with our logo and it's size. We use a brass stamp (and we can have these made with your own brand) which is pressed into the leather using either our large manual press or a heated hydraulic press.
_____________________________________________________________
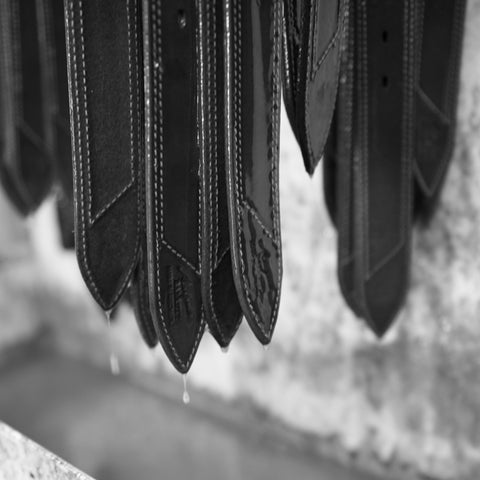
Oiling - the final step, before the product is quality checked and dispatched to you, is oiling. This is a really important step and one that can make or break a product. You want enough oil to penetrate the leather to it's core, but not too much that it will separate the leather fibres. The oiling will allow the leather to come to life as it matures, and will provide it the protection it will need on it's journey. The oil mix is also critical and Angus has been working for years to get the right balance between oils and waxes. Once again, we use a secret mix of all natural products.
These are just the main steps involved in making our leather belts.There are many more little things that we carry out along the way to help ensure that our belts are as good as they can possibly be.
As you can see we are passionate about crafting something that no only looks and feels good, but that is so well made that it will last you for many years. We are constantly improving our processes to help improve our products and if if you have any feedback about our products, including our belts, we would love to hear it.
It's your feedback that helps us to improve. We love hearing your stories too, about where our belts have been and what they have withstood. SB.
_____________________________________________________________
TIP FOR CHOOSING THE RIGHT SIZE
Our belt sizes are a literal measurement from the tip of the buckle tongue to the middle hole. The best way to pick the right size it to take your old belt and measure from the tip of the buckle tongue to the hole that you always use.
Then just pick the closest Angus Barrett Saddlery size.
If the belt is a gift and you don't have a measurement, we generally recommend that you go up two sizes from a pant size.
For an ideal fit, please watch our video on "how to choose the right size belt"
_____________________________________________________________
FREE RETURNS
Remember - we offer FREE returns (see our returns page for full details), so if you choose the wrong size, don't worry. Just send the belt back and we will return it to you free of charge.
Subscribe
Sign up to get the latest on sales, new releases and more …
